With Objects Replicator 1.1 release, Nutanix added support to migrate the data from Non-Nutanix S3 or from public cloud to Prem Objects cluster. You can also use this for out of band replication or setting up periodic backup. We covered this in more detail in these posts. This worked really well from migrating the data between S3 endpoints. But one of the problems typical users faces is, how to migrate the data from the legacy file system to Objects cluster. This is very critical in order to move the workload to the Objects cluster.
Now ideally you can use the s3cmd or similar tools, but these tools do not handle failures very well and are not optimized to handle higher dataset. Either they crash when it's running for a longer time and can bloat memory very easily. So you need a reliable way of migrating the data from the local filesystem to Objects.
To solve this problem, Nutanix added support to migrate the local filesystem data to Objects in Objects Replicator. Objects replicator is optimized to handle a huge amount of data migration without adding much compute overhead. Solution is optimized to work with a low memory footprint and gives you optimal performance.
In this post we will take a quick look at the configuration and will perform the quick test to see if all the data is migrated and data integrity is maintained.
Deploying Objects Replicator 1.1.1 :
Contact Nutanix support to get the latest build of Objects Replicator. And follow these steps to deploy.
Configuring Objects Replicator with Objects Endpoint:
Login to Objects Replicator VM using “User : nutanix” and “Password : nutanix/4u” . Create /home/nutanix/.config/rclone/rclone.conf file with below entries :
nutanix@NTNX-ORVM:~$cat /home/nutanix/.config/rclone/rclone.conf
[dest]
type = s3
env_auth = false
secret_access_key = DSUKYSEgre4QvkDPOFYakIB3OvGxg33Y
endpoint = http://sf-objects-03.prod.scalcia.com
access_key_id = WxSSJu2fOsK-suTUUCeY6VYhHIfSiU8q
nutanix@NTNX-ORVM:~$
If you do not have DNS configured for your Objects Endpoint, then just add the IP address instead of FQDN in the above snippet.
Now next thing to do, mount the data directory on Objects Replicator VM. Data that you want to migrate to Objects cluster. You can copy data locally or just export the directory from the host either via NFS or SMB protocol to Objects Replicator VM.
In my case I am trying to migrate the data from my legacy ftp server to Objects cluster. I mounted the directory “/auto” on the Objects Replicator VM via NFS protocol.
nutanix@NTNX-ORVM:~$mkdir nfs_mount
nutanix@NTNX-ORVM:~$sudo mount ftp.prod.scalcia.com:/auto nfs_mount/
nutanix@NTNX-ORVM:~$df -h
Filesystem Size Used Avail Use% Mounted on
devtmpfs 3.8G 0 3.8G 0% /dev
tmpfs 3.9G 0 3.9G 0% /dev/shm
tmpfs 3.9G 2.5M 3.8G 1% /run
tmpfs 3.9G 0 3.9G 0% /sys/fs/cgroup
/dev/sda1 9.8G 2.0G 7.3G 22% /
/dev/sdb1 40G 49M 39G 1% /home
tmpfs 779M 0 779M 0% /run/user/1000
tmpfs 779M 0 779M 0% /run/user/0
ftp.prod.scalcia.com:/auto 17G 13G 4.7G 73% /home/nutanix/nfs_mount
nutanix@NTNX-ORVM:~$
Make sure you configure enough permissions on the directory so Objects Replicator can read the data.
Objects Configuration:
Create the bucket on the Objects cluster and provide the access to the user that you configured in rclone.conf above.
One of the easiest ways to access your Objects endpoint is , using Objects native client. Just open http://objects-endpoint-ip/objectsbrowser in your browser and start accessing Objects. No need for any third party S3 client.
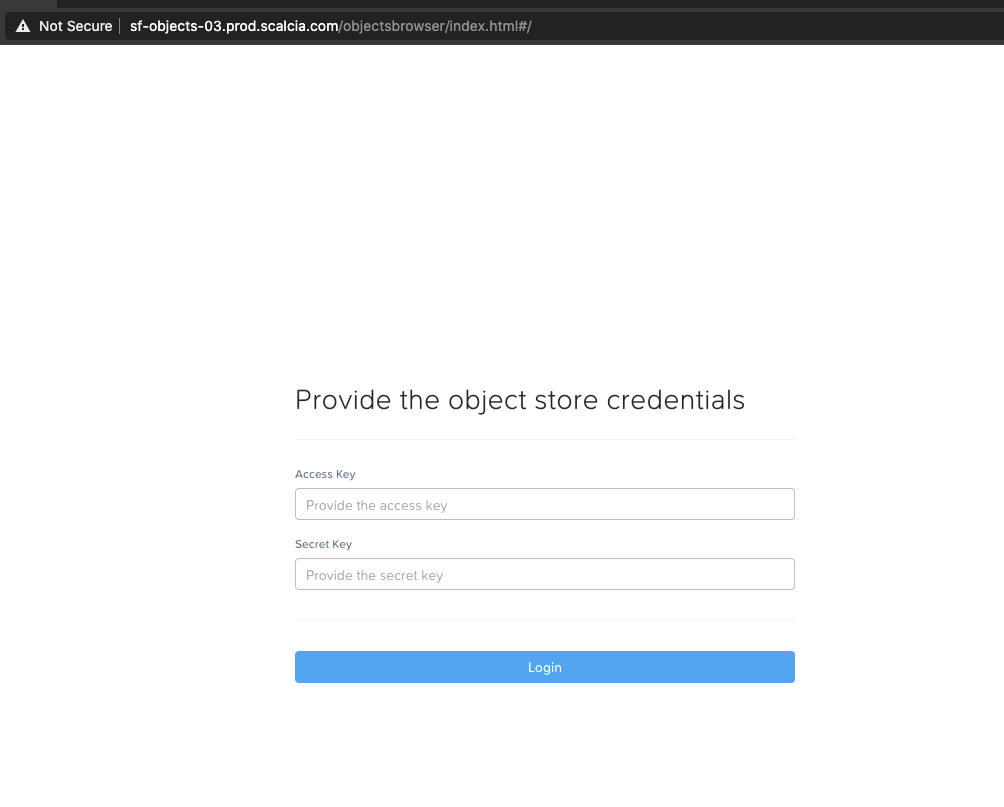
Input Objects credentials and create a bucket.

Start the Migration to Objects:
Login back to Objects Replicator VM. And run below command:
nutanix@NTNX-ORVM:~$/home/nutanix/objects_replicator/rclone sync nfs_mount dest:ftp-data --fast-list --log-level=DEBUG --log-file=logs/rclone.log
INFO[0000] Started enforcing RSS limits. highRssBytes=7105150976 highRssMB=6776 highRssMaxSecs=0 intervalMsecs=5000 lowRssBytes=5684120780 lowRssPct=80 pid=8659
You should see a response similar to the above output confirming migration started.
Validating the data migration :
Quick look at dir content on FTP server.
[root@ftp-sjc auto]# ls
app.py logs num.cfg tmp.cfg upload.py
[root@ftp-sjc auto]# ls logs/
2020-10-26.07.43.13 2020-10-27.09.32.28 2020-10-27.11.00.59 2020-10-27.14.42.42 2020-11-07.23.51.29
2020-10-26.07.50.39 2020-10-27.09.35.13 2020-10-27.11.25.57 2020-10-27.14.44.32 2020-11-08.01.38.14
2020-10-27.05.13.58 2020-10-27.09.39.43 2020-10-27.11.58.27 2020-10-27.14.46.13 2020-11-08.04.02.43
2020-10-27.06.49.44 2020-10-27.09.43.20 2020-10-27.12.41.34 2020-10-27.14.49.54 2020-11-11.08.14.34
2020-10-27.07.04.12 2020-10-27.09.46.06 2020-10-27.12.43.43 2020-10-27.14.53.11 2020-11-12.08.03.23
2020-10-27.08.43.26 2020-10-27.09.48.55 2020-10-27.12.54.19 2020-10-27.15.05.07 2020-11-14.10.13.23
2020-10-27.08.48.10 2020-10-27.09.49.52 2020-10-27.13.04.39 2020-10-29.08.07.12 2020-11-16.08.05.13
2020-10-27.08.50.39 2020-10-27.09.51.56 2020-10-27.13.06.24 2020-10-30.00.11.51 2020-11-17.08.09.05
2020-10-27.08.57.13 2020-10-27.10.13.44 2020-10-27.13.39.25 2020-10-30.02.35.44 2020-12-05.04.38.23
2020-10-27.08.59.35 2020-10-27.10.26.02 2020-10-27.13.41.24 2020-11-03.18.11.33 2020-12-05.04.41.20
2020-10-27.09.00.58 2020-10-27.10.27.28 2020-10-27.13.56.25 2020-11-04.21.12.00 2020-12-05.04.41.51
2020-10-27.09.29.03 2020-10-27.10.33.24 2020-10-27.14.29.12 2020-11-07.10.34.40 2020-12-05.05.20.49
[root@ftp-sjc auto]#ls logs/2020-10-26.07.43.13
ERROR nfsread30_nfslist10_write30_read20_list5_delete5.log
[root@python2-1-10 auto]#
Now back to Objects client. And click on ftp-dat bucket -> Refresh button :

Which should start listing the content already. Inside the logs directory on Objects :
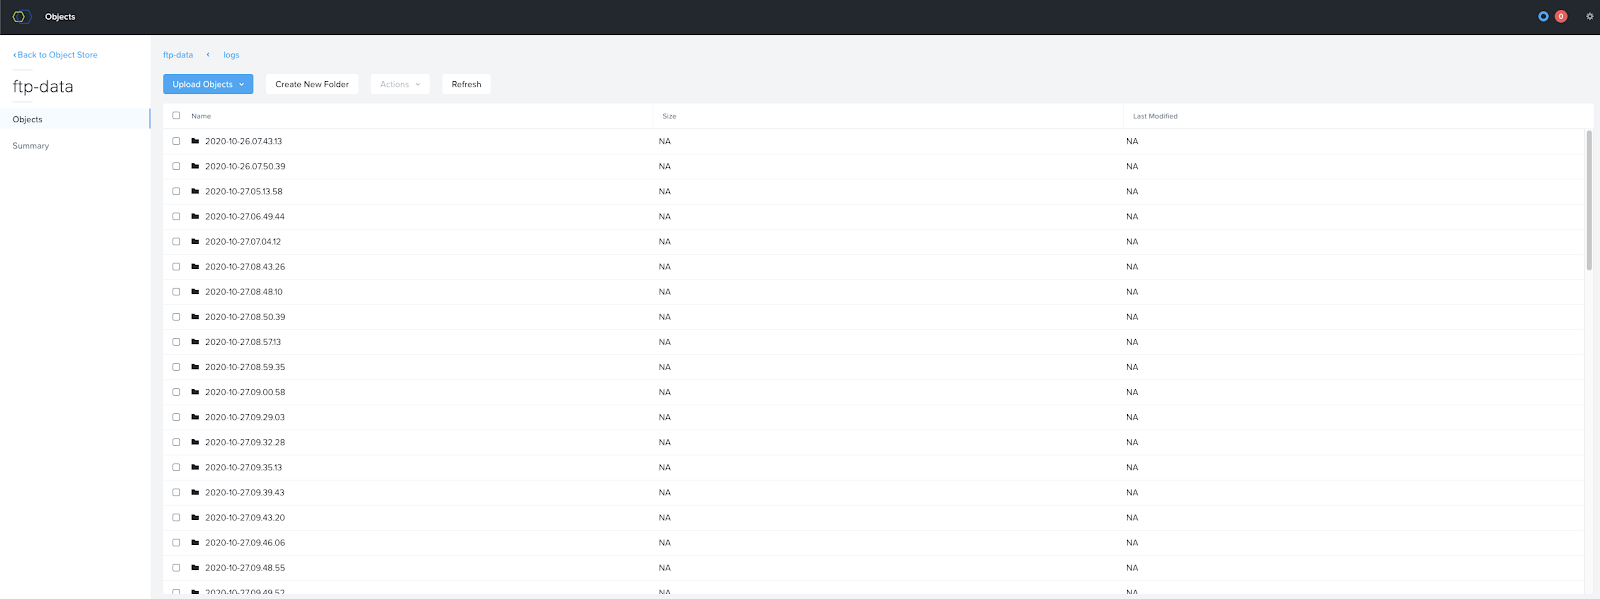
And inside one of the directory :

Same content as seen on ftp server.
Validating Data integrity :
Let’s download one of the file and validate md5sum of content :
Md5sum on ftp server:
[root@ftp-sjc auto]# md5sum logs/2020-10-26.07.43.13/nfsread30_nfslist10_write30_read20_list5_delete5.log
dd2438aab1ea6a1ef55f69eb4d442067 logs/2020-10-26.07.43.13/nfsread30_nfslist10_write30_read20_list5_delete5.log
[root@ftp-sjc auto]#
Run md5sum locally :
Download the same file on your desktop from Objects Browser. Just click on the file and it will ask you the local path to download the file.
Scalcia: ~ $md5sum Desktop/nfsread30_nfslist10_write30_read20_list5_delete5.log
dd2438aab1ea6a1ef55f69eb4d442067 Desktop/nfsread30_nfslist10_write30_read20_list5_delete5.log
Scalcia: ~ $
In both cases md5sum is returned as : dd2438aab1ea6a1ef55f69eb4d442067
Which confirms data migration is successful and data integrity is maintained. Entire migration may take some time depending on the amount of data to be migrated. Monitor logs/replicator.logs for overall progress.
That's it, simple and easy.